Setting Up a New M1 MacBook for Plugin Development for Atlassian Products
There can be a lot of ways to set up a new MacBook for development depending on which technologies you are using for development. This…
There can be a lot of ways to set up a new MacBook for development depending on which technologies you are using for development. This MacBook will be primarily used to develop add-ons for Atlassian apps, like Jira, Confluence, Bitbucket, etc. I will be setting it up for Java and JavaScript development.
Let’s start by installing general tools needed for both Java and JavaScript development and tools which I use daily.
General Setup Steps
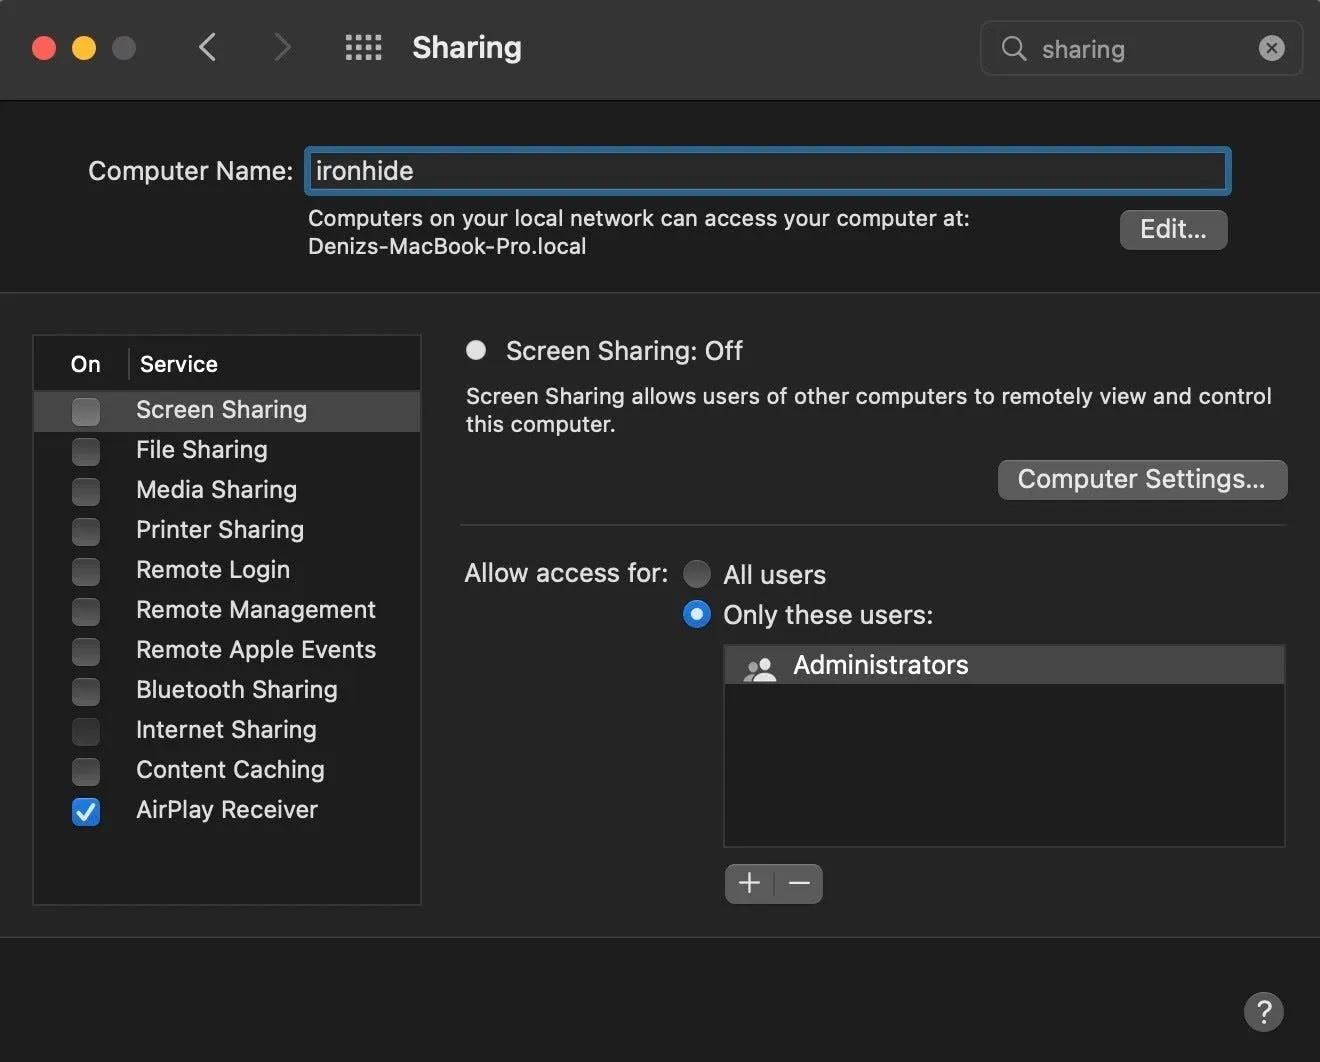
The first thing I do for all of my computers is change its name to one of the Transformers. For this one, I have chosen Ironhide. To change it, navigate to “System Preferences/Sharing” and update the “Computer Name”. I like to see it in the command prompt.
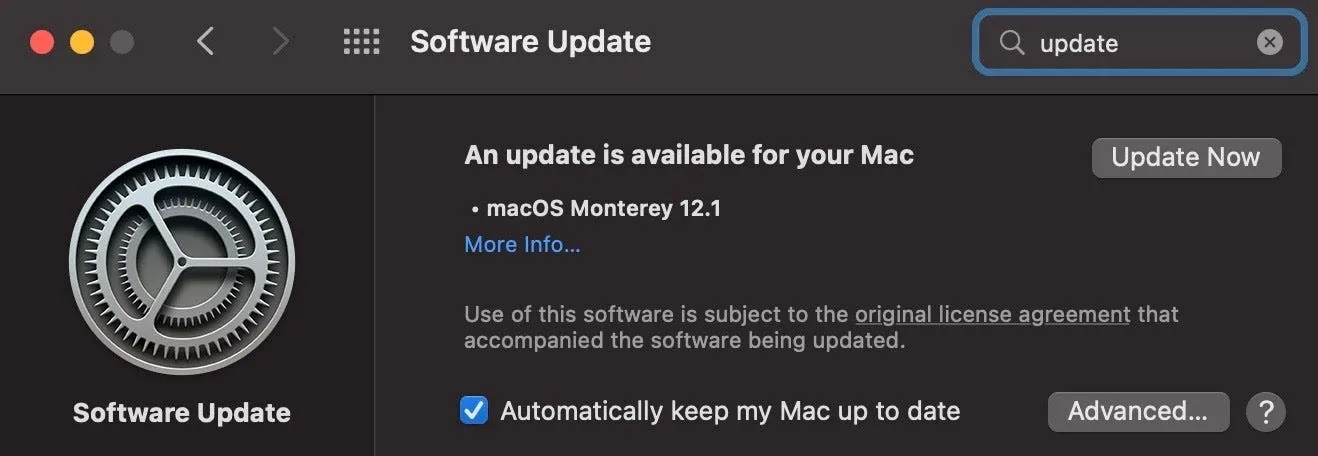
You should also start a system update from “System Preferences/Software Update”, just in case it doesn’t come with the latest version of macOS from the factory.
There are some tools that I use daily but are not directly related to development. I install all of them one by one.
- Alfred App as a replacement for Spotlight, text snippets, etc.
- Snagit for screenshots and recording video of the screen
- Dropbox for file synchronization
- Airmail for emails
- Setapp for installing various applications with a fixed price of $9.99 per month
* Moom for window management
* Cloud Mounter for mounting Google Drive, OneDrive as file systems
* iStat Menu for getting real-time information about the mac hardware & software
* Forklift for file management
* Clean My Mac
* Gemine
I’m skipping the installation of these apps because they are not directly related to the development setup. Most of them will happily restore their settings from iCloud.
Next comes the “XCode Command Line Tools”. Since I’m not developing iOS apps for a long time and since I’m not planning to develop iOS apps, I will not be installing full Xcode.
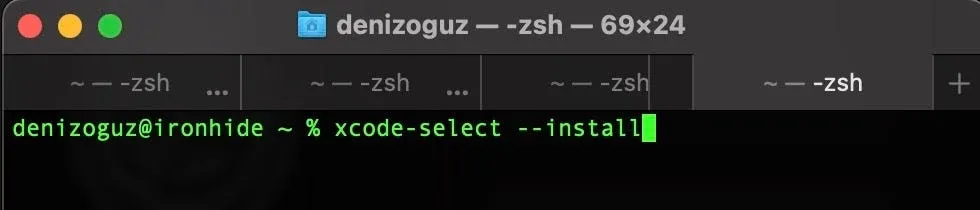
“Xcode Command Line Tools” install Git, but it should also be configured so that you can access your existing repositories.
If you are using ssh to access repositories you should also set up public/private keys and configure your repositories with a new public key. You will also need to set global settings for Git, like your email address. But I will copy my ~/.ssh folder, global ~/.gitignore and ~/.gitconfig files to the new machine instead of creating new keys and reconfiguring git. This is a lot easier for my needs. I will not be using my old laptop after the migration is completed. If you want to perform a clean setup for Git, there are plenty of resources on the Internet.
To transfer files between your old Mac and new Mac you can use Airdrop, it is very convenient and fast.
Homebrew is a popular app for installing some other 3rd party applications. To install it just navigate to their homepage and run the one-line command. After the installation script completes it will instruct you to run two more commands to set up your shell. We will use homebrew to install Atlassian SDK later.
macOS now comes with Zsh as the default shell. So let’s continue with the installation of oh-my-zsh. oh-my-zsh manages your Zsh shell configuration. For example, it provides various aliases for some git commands, provides auto-completion for Docker, z command, git status on the prompt, etc. Who doesn’t want to just write “..” instead of “cd ..”, write “ll” instead of “ls -la” :) The installation of Zsh is also a one-liner. Just copy and paste to your terminal. You can configure which plugins you want in the .zshrc file. Here is my plugins configuration line in the .zshrc file.
plugins=(aws git colorize pip python brew macos z docker npm yarn)This is the only change I do after the installation. You can play with various themes and plugins until you find something working for you.
Edit the ~/.zshrc file and add ~/bin and /usr/local/bin folders to the PATH environment variable. It is already added as commented out, so just uncomment the below line in the ~/.zshrc file. I like to add my shell scripts in the ~/bin folder. I also use this folder for the “shell script location” setting of the Jetbrains Toolbox App which we will install later.
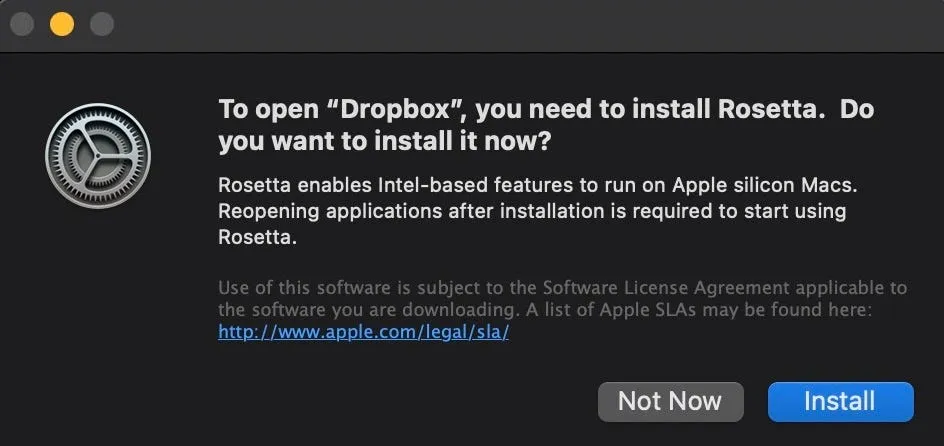
export PATH=$HOME/bin:/usr/local/bin:$PATHWithin years, before iCloud, I have used Dropbox for storing configuration information of various apps. Since I don’t want to configure each of them one by one, I next install Dropbox for these apps to be able to find their configurations. As soon as I try to start the Dropbox app, macOS asks to install Rosetta, a translation layer for legacy x86 apps. That means when I write this blog, Dropbox is still not available for the ARM architecture.
In the past, I have always immediately installed iTerm2, but the latest version of the built-in “Terminal Application” also seems to be great. It has tab support, custom color schemes, fonts, and the ability to search text within the terminal. This time I will try to use it.
Setting the MacBook for Java Development
Next, SDKMAN for managing Java Development Kit installations. It is also a one-liner, but I’m using zsh instead of bash as shown on their home page.
curl -s “https://get.sdkman.io" | zshJava can be run in two different ways on an M1 Mac, either with the Rosetta translation layer or natively. SDKMAN configuration file is ~/.sdkman/etc/config. The configuration that determines whether to show ARM-compatible versions or X86 compatible versions is controlled by the “sdkman_rosetta2_compatible” setting. If it is true, X86 versions are shown in addition to ARM versions, if it is false, only ARM versions are shown. Since we will be using this machine for Atlassian add-on development, we will set it to true to use an X86 version. Atlassian only supports X86 architecture for running Jira and only Java8 and Java11 of AdaptOpenJDK distribution. So we will install Java using the following command after updating setting “sdkman_rosetta2_compatible” to true:
sdk install java 11.0.11.hs-adpt
sdk use java 11.0.11.hs-adpt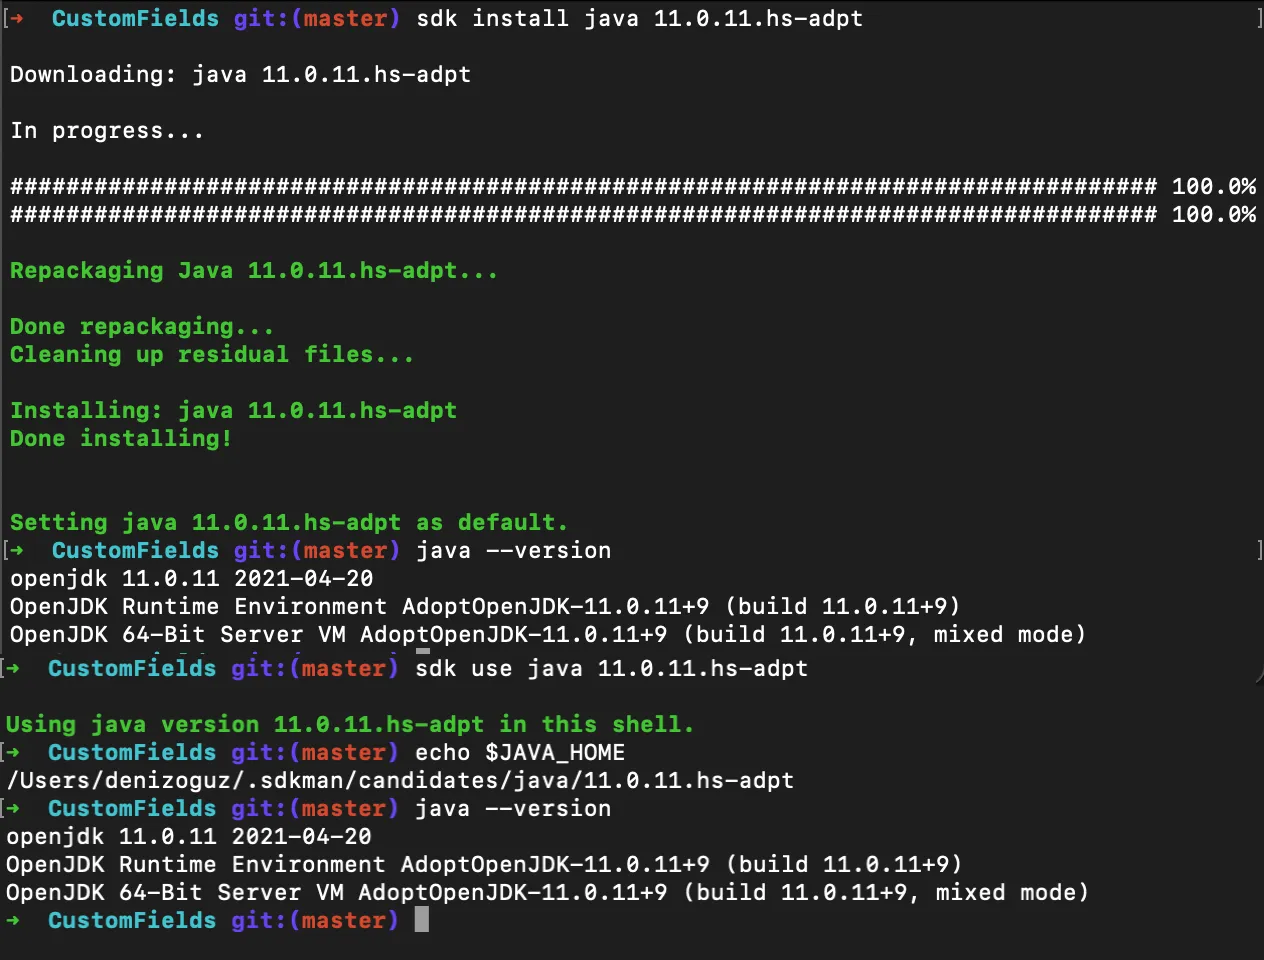
Note that, we are not using the native ARM version of JDK and this may have some performance implications.
The other alternative is installing a native ARM version of JDK, such as Oracle JDK 17.0.1. Atlassian does not support this version of Java, but switching between different Java runtimes is very easy using SDKMAN so let’s install both of them.
sdk install java 17.0.1-oracle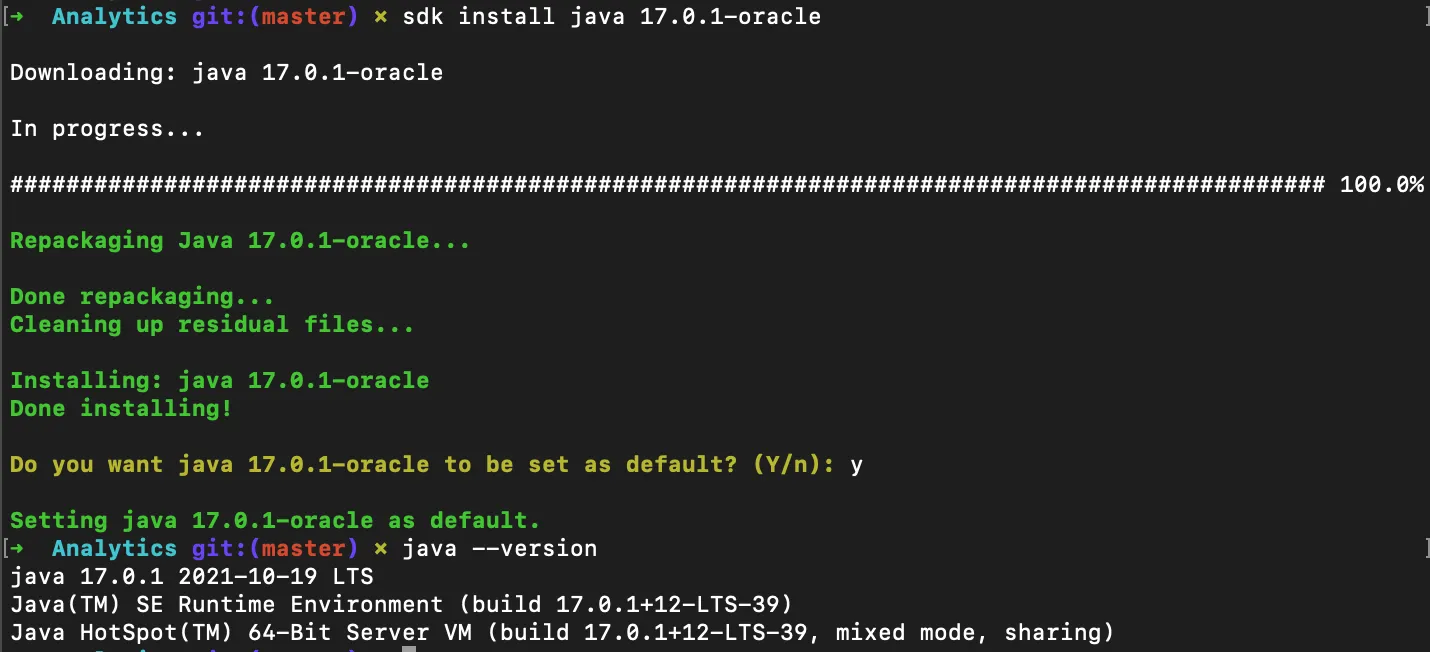
After getting JDK ready, let’s install Atlassian Plugin SDK for an on-premise plugin development for Server and DC.
brew tap atlassian/tap
brew install atlassian/tap/atlassian-plugin-sdk
If the installation is successful, you should be able to display version information using atlas-version command:
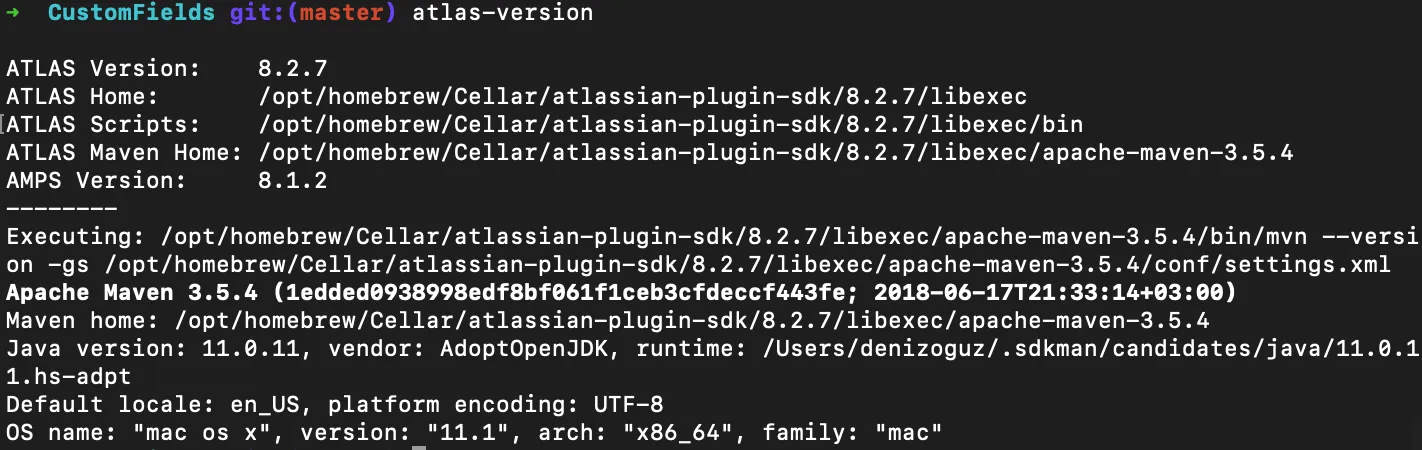
Pay attention to the “ATLAS Maven Home” path. We should use this instead of built-in Maven when setting up IntelliJ IDEA.
I have tried to start Jira in development mode using the “atlas-debug” command in an existing project. With JDK 17.0.1 Apple Silicon version, it didn’t start successfully, so I had to revert to JDK 11.0.11 x86 version. This was expected, according to the supported platforms page of Jira, it is only supported for Java 8 and Java 11 on x86 platforms. “atlas-debug” command took around 2 minutes and 18 seconds to start on the M1 Mac and 2 minutes 9 seconds on the Intel Mac.
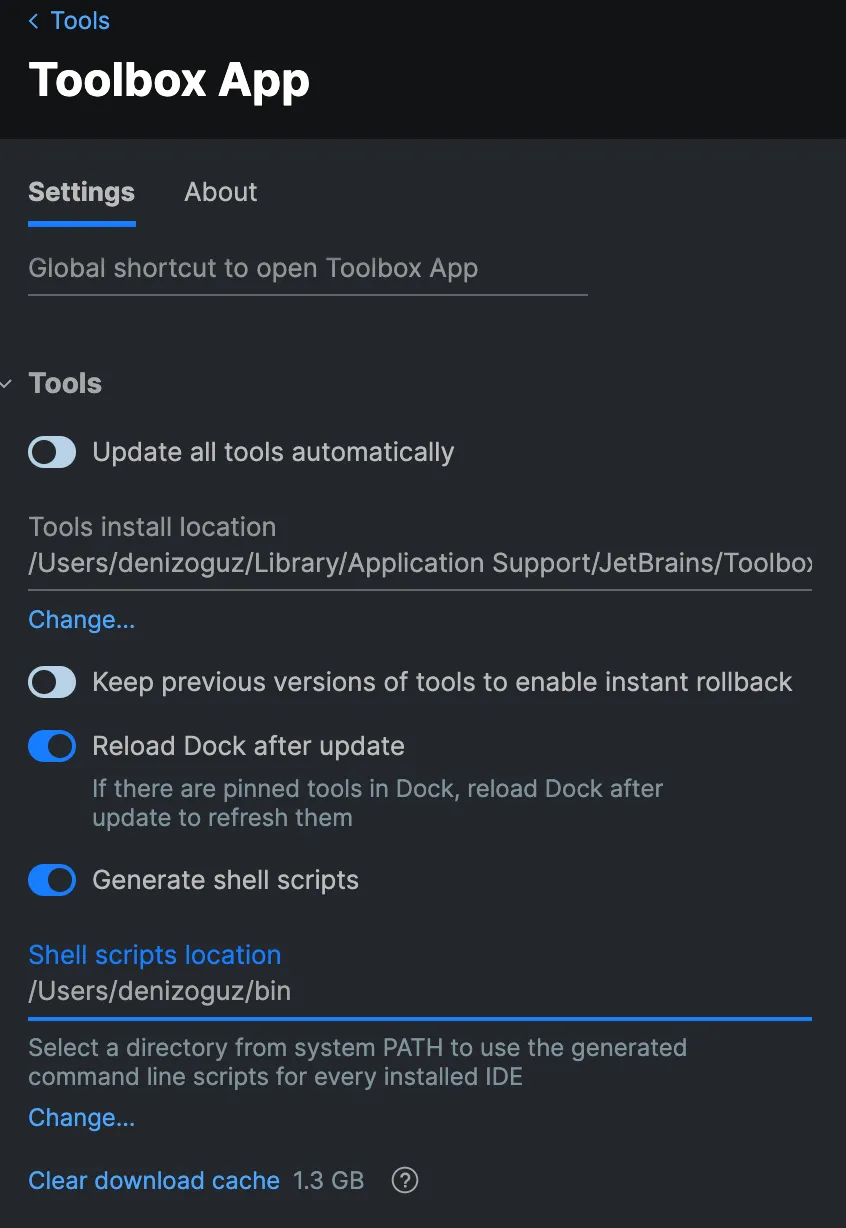
Let’s install an IDE. I use JetBrains IDEs for development and manage their installation using Jetbrains “Toolbox” app. Toolbox app makes it very convenient to set up all of JetBrains IDEs. Since I usually develop with Java and JavaScript, I install Webstorm and IntelliJ. Of course, IntelliJ is capable of doing everything Webstorm can do, but I prefer Webstorm for JavaScript projects. These IDEs also use JVM to run, but they bundle their JVM, so they are not affected by the Java version we have installed using SDKMAN. After installing the toolbox app, update its “shell scripts location” setting to “~/bin” and activate the “Generate Shell Scripts” setting. This will allow you to start these applications from the command line. When you are in a folder that you want to open in Webstorm you can simply write “webstorm .” to open it inside Webstorm.
At that point, we have installed nearly everything to start an Atlassian Server/DC plugin. Navigate to the source folder of a plugin and run the following command. It will deploy a lot of dependencies from the Internet to the .m2 folder in your home directory. This may take a while.
atlas-package
atlas-debug
After waiting some time for the Jira server to start, you can check whether Jira is successfully running or failed to start by navigating to http://localhost:2990/jira.
In a Server/DC plugin, we may still need to transpile JavaScript files. We need to set up Node for this and we will perform it after setting the machine for JavaScript development.
Setting The MacBook for JavaScript Development
Now we have completed the Java part of our installations, we need to set it up for JavaScript and Atlassian Cloud development. Atlassian’s latest framework for Cloud development is Forge and it makes use of Docker for running code locally during development. Let’s start by installing Docker. Installing Docker is easy, you should install Docker Desktop for Apple Silicon. This version will allow you to run both x86 and ARM images. After installing and running Docker Desktop test it by running the following command in the terminal:
docker run -d -p 80:80 docker/getting-started
open http://localhost
This should open your default browser and show the “Getting Started” page of the Docker Desktop.
Next, we will install NVM, Node Version Manager. We use this to quickly switch between different Node versions. Installation is again a one-line script execution in the Terminal. After installation, open a new Terminal tab and run the following command to install a suitable version of the Node for Forge framework.
nvm install 14.17.6
nvm use 14.17.6
I have tried the 16.13.1 LTS version but it caused an “unsupported engine” error when trying to install @forge/tunnel.
Next, install Forge Framework to the selected Node installation.
npm install -g @forge/cliThis will install Forge, but we still need to configure it. Run “forge login” and provide your credentials. If you don’t have an Atlassian API Token, refer here to create one. If everything goes well, you should be able to invoke the “forge whoami” command to check your login status.
When I run, “forge tunnel” command to create a tunnel from Jira Cloud to my local development environment, I received the following warning:
WARNING: The requested image’s platform (linux/amd64) does not match the detected host platform (linux/arm64/v8) and no specific platform was requested
Also, the “forge tunnel” command took significantly more time, 18.5 seconds on Intel Mac vs 55 seconds on M1 Mac. Unfortunately, this means it is unusable. Fortunately, someone found a solution to this performance issue. Although it is undocumented, you don’t have to run “forge tunnel” inside docker as explained here.
We first need to install @forge/tunnel for our current node version globally.
npm install -g @forge/tunnelAfter that, we can run the “forge tunnel” command without Docker. Using the following command:
FORGE_DEV_TUNNEL=true forge tunnelThis takes around 15 seconds for both Intel and M1 Mac. By the way, all measurements are done on the battery.
For some of my Forge projects, I use AWS. Forge provides a lambda-like environment but capabilities are still limited. So I still need to delegate some functionality to AWS. Next, we will continue with the installation of AWS CLI and SAM CLI by Amazon Web Services.
AWS CLI does not have an official formula for Homebrew. There is an unofficial formula but I just prefer to install it with the supported procedure. You need to download and run the Mac-specific installer from here. After installing it, configure it with the “aws configure” command. It will ask for your AWS “Access Key”, and “Secret Key”. If you don’t have these keys, you can create them using AWS Console. Installation of SAM CLI is easier, there is a default Homebrew formula.
brew tab aws/tap
brew install aws-sam-cli
This will take some time to download everything needed. Since we already configured AWS CLI, you don’t need to do any additional configuration for SAM CLI. You can find additional information about how to configure it here.
For my specific use case scenario, this is all I needed to do for setting up an M1 Mac for development. I’m sure I will need to perform some additional configuration in the future but for now, it is done.